In the rapidly evolving world of artificial intelligence, the ability to seamlessly integrate powerful AI models into applications is a game-changer for developers. This article serves as a comprehensive guide to leveraging ChatOpenAI within the LangChain library and Azure OpenAI service. Whether you're looking to enhance your project with sophisticated conversational capabilities or simply exploring the potential of AI, understanding how to effectively use ChatOpenAI is crucial. We'll break down the process into simple, actionable steps, complete with sample code to get you started.
TL;DR: Quick Guide
- Install LangChain and import ChatOpenAI to set up your development environment.
- Configure ChatOpenAI with your OpenAI or Azure API key for authentication.
- Create and run a chat function to interact with the AI model.
- Understand the difference between OpenAI and ChatOpenAI for better integration.
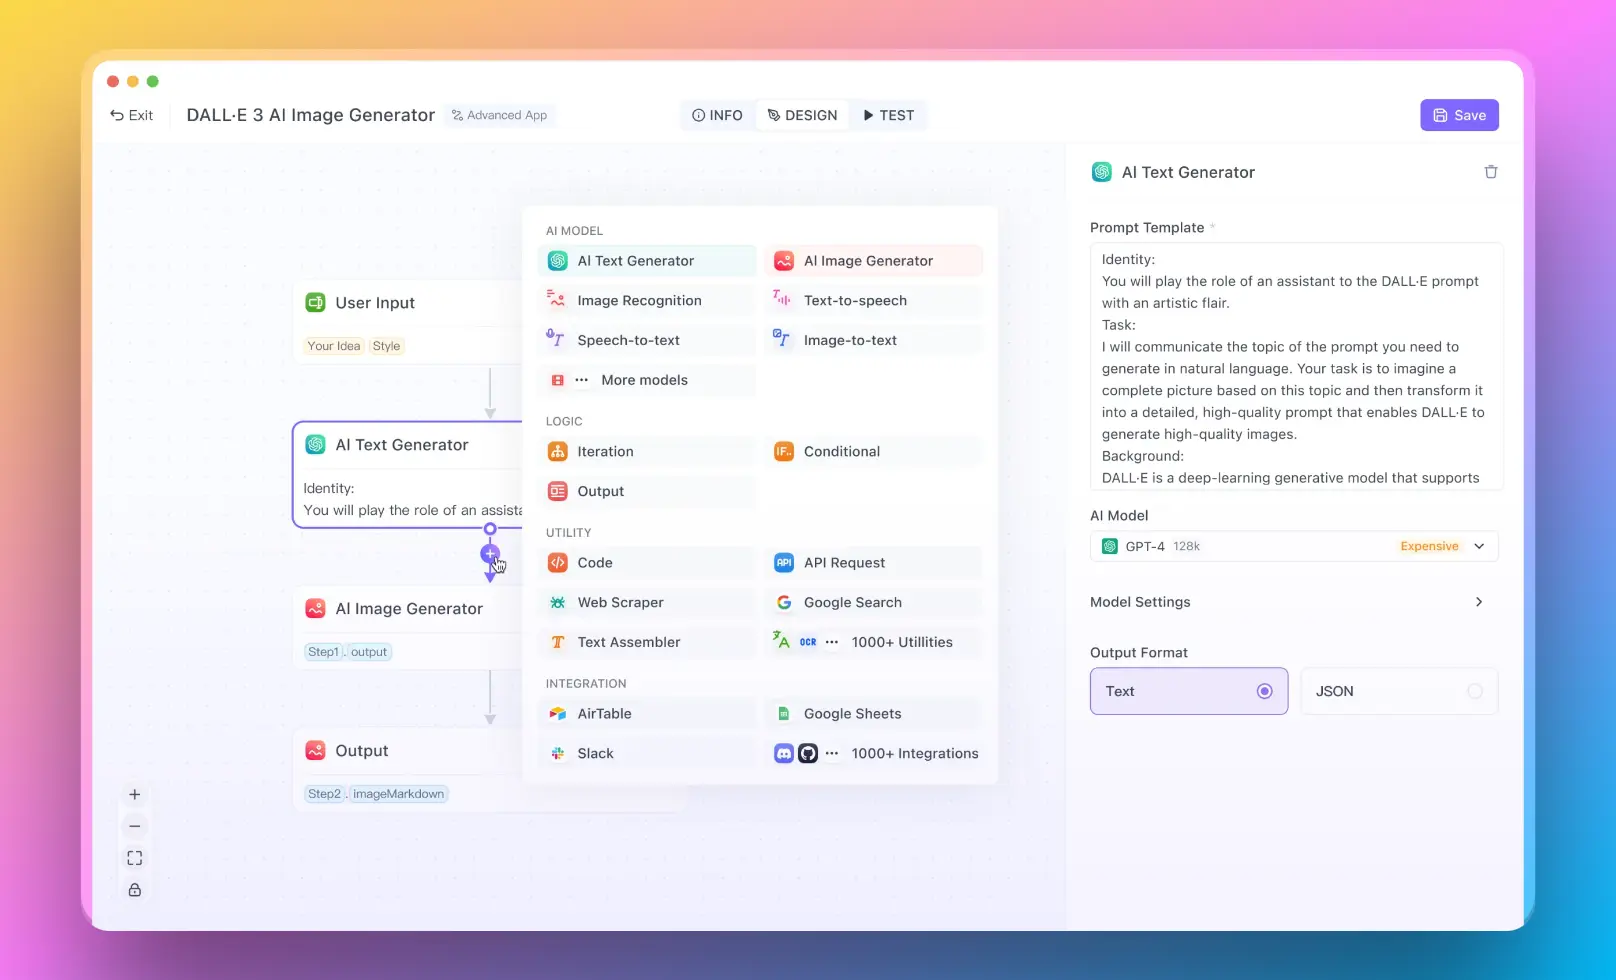
- For users who want to run a RAG system with no coding experience, you can try out Anakin AI, where you can create awesome AI Apps with a No Code Builder!

With all the information above, Let's get started!
Getting Started with ChatOpenAI and LangChain
Imagine you're building a robot that can chat like a human. First, you need to give it a brain, which is where ChatOpenAI comes in. Think of LangChain as the robot's body that makes using the brain easier. Here's how to put it all together:
- Setting Up: It's like preparing your workspace. Make sure your computer understands Python, then tell it about LangChain by installing it.
- Bringing in the Brain (ChatOpenAI): Now, you introduce the brain (ChatOpenAI) to your robot's body (LangChain). It's as simple as telling Python, "Hey, we're going to use ChatOpenAI."
- Waking Up the Brain: Before your robot can chat, you need to connect the brain to the internet (using your OpenAI API key). This is like the brain's Wi-Fi connection.
- Having a Chat: Now, you're ready to chat! Write a small note to the AI (like "Hello"), and it will respond.
Chatting Through Azure OpenAI
Maybe you want your robot to use a different internet provider, which is where Azure comes in. The steps are similar, but you're just using Azure's Wi-Fi instead:
- Sign Up with Azure: Get an Azure account and find your special Azure Wi-Fi details (API key and endpoint).
- Connect the Brain to Azure: Tell your robot's brain to use Azure's Wi-Fi by giving it the Azure details.
- Start Chatting: Just like before, send a note to the AI, and you'll get a response.
OpenAI vs. ChatOpenAI: What's the Difference?
- OpenAI: This is the big company that makes AI brains. They make all sorts of brains for different tasks.
- ChatOpenAI: This is a specific type of brain made for chatting. It's designed to be easy to use so your robot can start chatting quickly.
Integrating ChatOpenAI with LangChain and Azure OpenAI
Discover how ChatOpenAI enhances your projects with LangChain and Azure OpenAI. Click to explore the possibilities!
Introduction to ChatOpenAI
ChatOpenAI is a powerful tool designed to streamline the integration of OpenAI's language models into various applications. This article delves into how developers can utilize the ChatOpenAI class within the LangChain library and Azure OpenAI service, highlighting the differences between OpenAI and ChatOpenAI, and providing practical guidance through steps and sample codes.
How to Use ChatOpenAI in LangChain
LangChain is a library that facilitates the building of language applications by abstracting common patterns in language AI. Integrating ChatOpenAI within LangChain can significantly simplify the process of deploying conversational AI models.
Step 1: Setting Up Your Environment
Before integrating ChatOpenAI, ensure that you have Python installed and set up a virtual environment:
python -m venv langchain-env
source langchain-env/bin/activate
Step 2: Installing LangChain
Install LangChain using pip:
pip install langchain
Step 3: Importing ChatOpenAI
Import the ChatOpenAI class from LangChain:
from langchain.chains import ChatOpenAI
Step 4: Configuring ChatOpenAI
Initialize the ChatOpenAI class with your OpenAI API key:
chat_model = ChatOpenAI(api_key='your_openai_api_key')
Step 5: Creating a Conversation
Create a function to handle the conversation logic:
def chat_with_openai(prompt):
    response = chat_model.chat(prompt)
    print("AI says:", response)
Step 6: Running the Chat
Test the setup by sending a prompt to the model:
chat_with_openai("Hello, how can I help you today?")
How to Use the ChatOpenAI Class with Azure OpenAI
Azure OpenAI also supports the integration of OpenAI models, including the use of ChatOpenAI for enhanced conversational capabilities.
Step 1: Create Azure OpenAI Resource
First, create an Azure OpenAI resource through the Azure portal and obtain your API key and endpoint.
Step 2: Install Azure SDK
Install the Azure AI SDK:
pip install azure-ai-textanalytics
Step 3: Configure ChatOpenAI with Azure Credentials
Modify the initialization of ChatOpenAI to use Azure credentials:
chat_model = ChatOpenAI(api_key='your_azure_api_key', api_endpoint='your_azure_endpoint')
Step 4: Implementing the Chat Function
Use the same chat function as before, but ensure the endpoint is correctly configured to point to Azure OpenAI:
def chat_with_azure(prompt):
    response = chat_model.chat(prompt)
    print("Azure AI says:", response)
Step 5: Test Your Azure Integration
Run the chat function to see how it performs with Azure OpenAI:
chat_with_azure("Hello, how can I assist you today?")
Conclusion
Integrating ChatOpenAI with LangChain and Azure OpenAI provides a robust framework for developers looking to incorporate advanced conversational AI into their applications. By following the steps outlined above, you can set up a responsive AI chat system that leverages the power of OpenAI's models, tailored to your needs whether through direct OpenAI integration or via Azure's cloud platform.


