Introduction
In the realm of natural language processing (NLP) and information retrieval, the concept of Retrieval Augmented Generation (RAG) has emerged as a powerful technique that combines the strengths of large language models (LLMs) with the ability to retrieve relevant information from external sources. This tutorial will guide you through the process of building a local LLM RAG system using the state-of-the-art Llama 3 language model from Meta AI and the LlamaIndex library.
Llama 3 is a cutting-edge language model developed by Meta AI, renowned for its exceptional performance on various NLP benchmarks and its suitability for dialogue use cases. LlamaIndex, on the other hand, is a Python library designed to simplify the process of building Retrieval Augmented Generation systems by providing a seamless integration between LLMs and information retrieval capabilities.
By following this tutorial, you will learn how to set up the necessary environment, preprocess and index your data, create a query engine, and leverage the power of Llama 3 and LlamaIndex to build an efficient and accurate RAG system. Whether you're a researcher, developer, or simply curious about the latest advancements in NLP, this tutorial will provide you with a solid foundation for exploring the exciting world of RAG systems.
Using Anakin AI for No-Code RAG Solutions
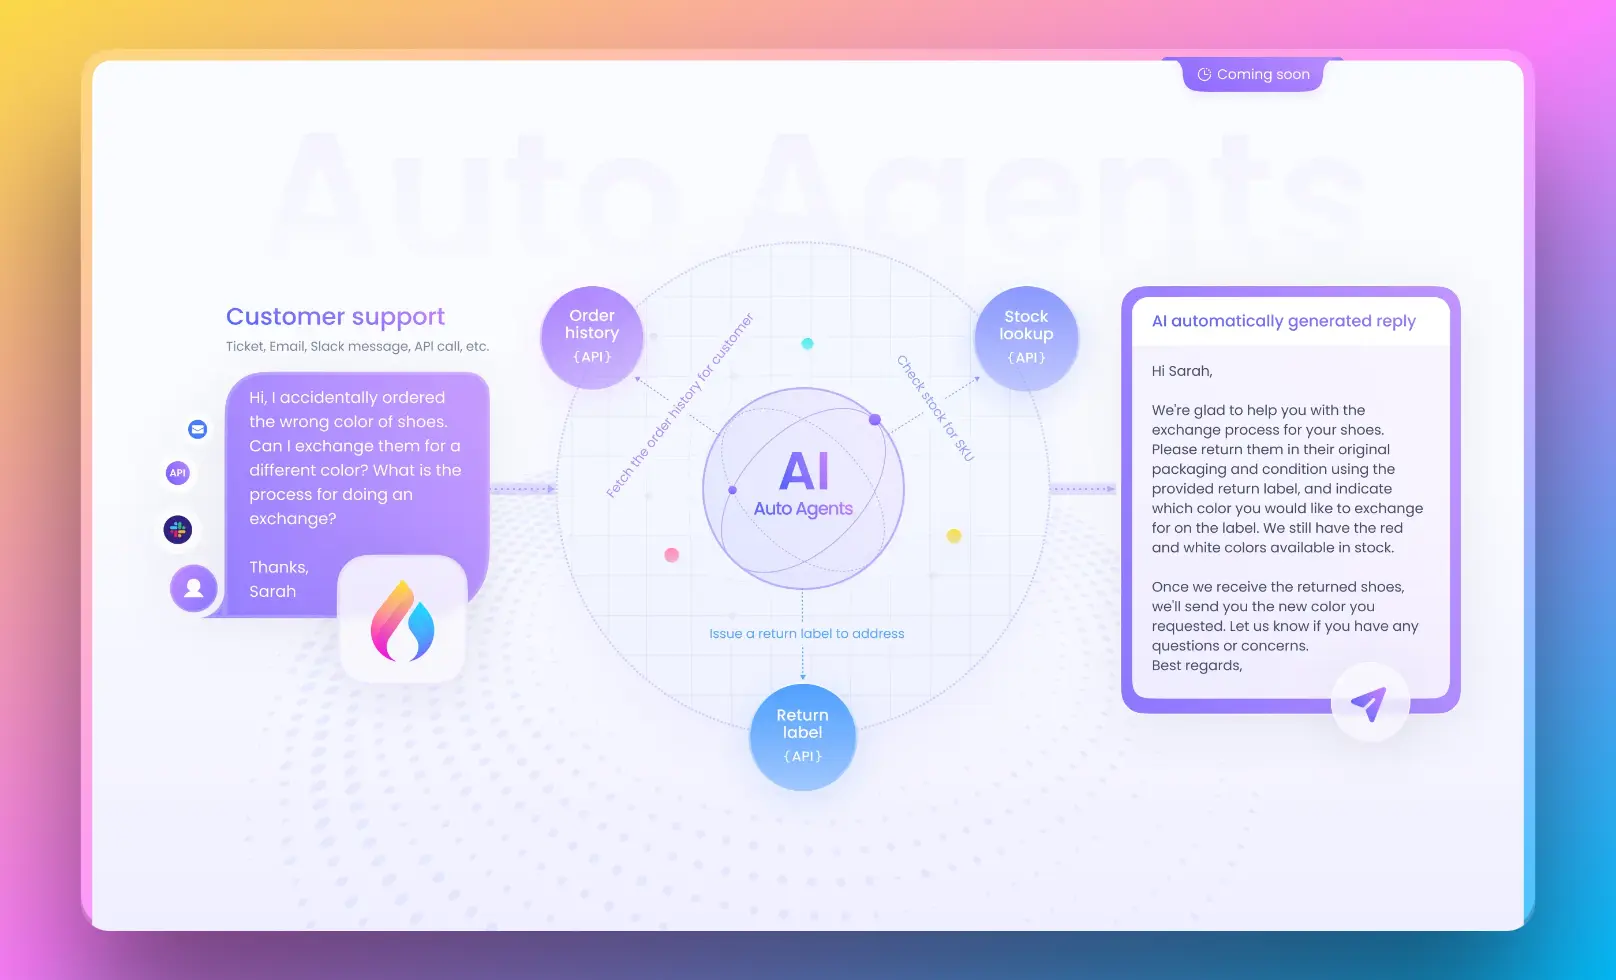
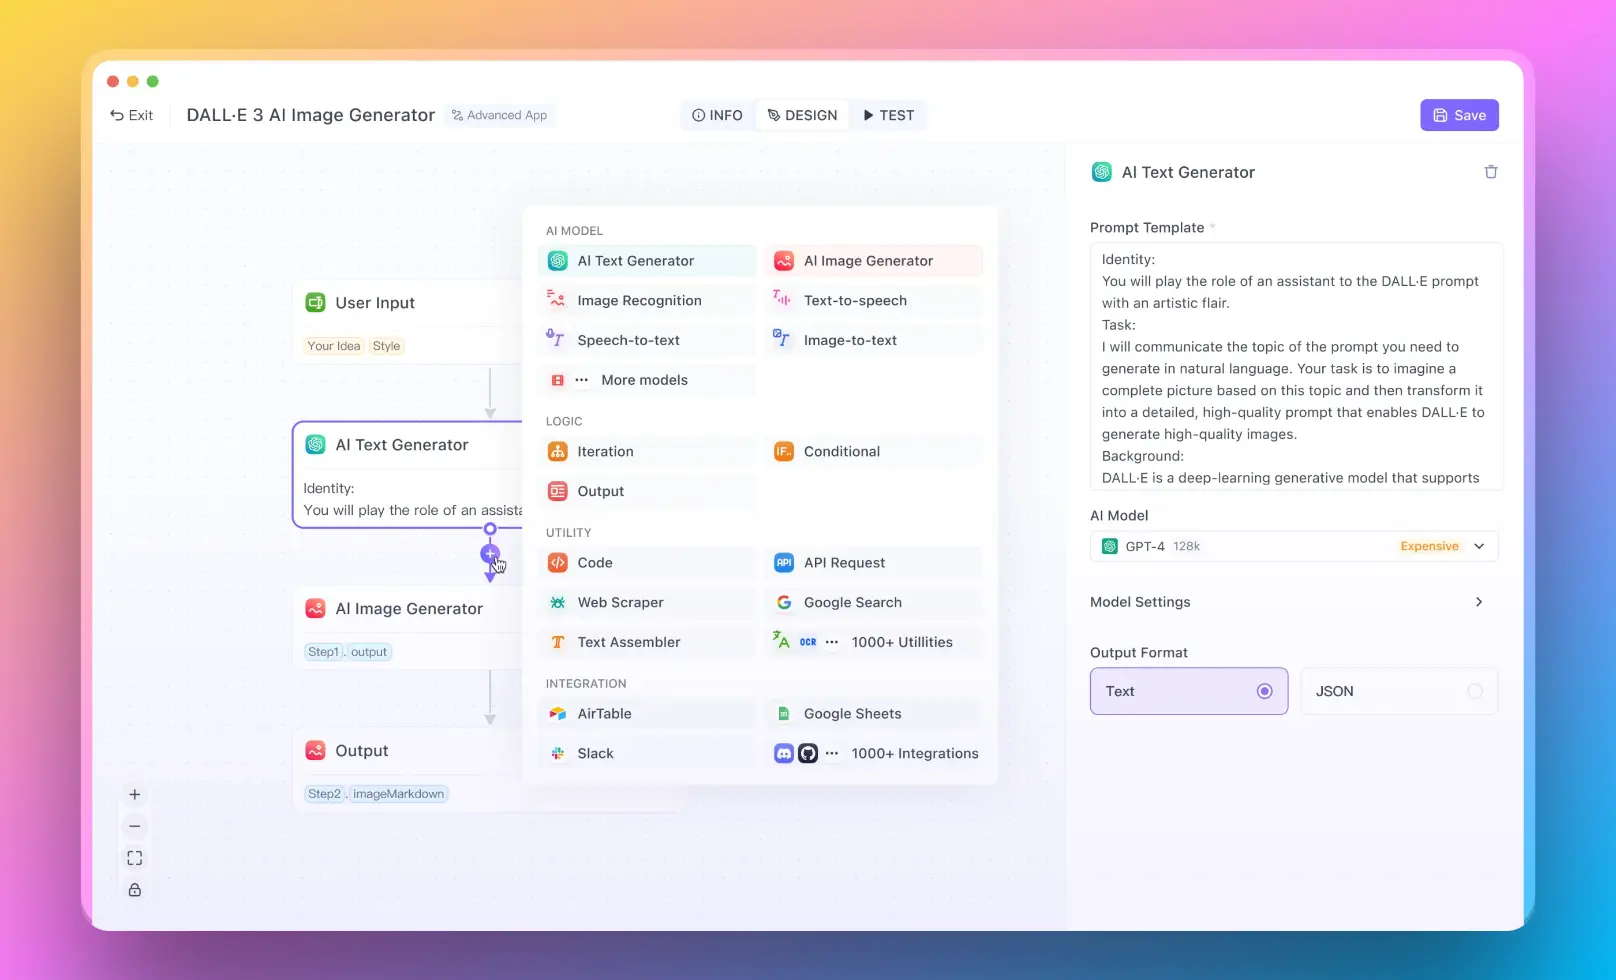
Anakin AI is a powerful no-code platform that allows you to build AI-powered applications without writing any code. It provides a visual interface for creating custom AI models, integrating data sources, and deploying applications. With Anakin AI, you can build your own Retrieval Augmented Generation (RAG) system without the need for extensive programming knowledge.

The platform offers a range of pre-built components and templates that you can use to create your RAG application. You can connect your data sources, such as documents, databases, or APIs, and configure the retrieval and generation components to suit your needs.
One of the key advantages of using Anakin AI is its user-friendly interface, which makes it accessible to non-technical users. You can drag and drop components, configure settings, and deploy your AI application with just a few clicks. Additionally, Anakin AI offers collaboration features, enabling teams to work together on building and maintaining AI applications.

While Anakin AI may not offer the same level of flexibility and customization as a code-based approach, it provides a convenient and efficient way to create AI Apps without the need for extensive programming expertise. This can be particularly useful for businesses or organizations that want to leverage the power of RAG systems but lack the resources or expertise to develop them from scratch.
To learn more about Anakin AI and its capabilities, visit https://anakin.ai.

Step 1: Install Required Libraries
Before we dive into the tutorial, we need to ensure that we have the necessary libraries installed. Open your terminal or command prompt and run the following commands:
pip install llama-index
pip install llama-index-llms-huggingface
pip install llama-index-embeddings-huggingface
These commands will install LlamaIndex and its dependencies for working with Hugging Face models and embeddings.
Step 2: Set Up Tokenizer and Stopping IDs
Next, we need to set up the tokenizer and stopping IDs for the Llama 3 model. In your Python script or Jupyter Notebook, import the necessary libraries and load the tokenizer:
from transformers import AutoTokenizer

tokenizer = AutoTokenizer.from_pretrained(
    "meta-llama/Meta-Llama-3-8B-Instruct",
    token=hf_token,
)

stopping_ids = [
    tokenizer.eos_token_id,
    tokenizer.convert_tokens_to_ids("<|eot_id|>"),
]
Replace hf_token with your Hugging Face token if you have one. The stopping_ids list contains the end-of-sequence token ID and a special token ID used for stopping the generation process.
Step 3: Set Up LLM Using HuggingFaceLLM
In this step, we will set up the Llama 3 language model using the HuggingFaceLLM class from LlamaIndex. This class provides a convenient interface for working with Hugging Face models within the LlamaIndex ecosystem.
import torch
from llama_index.llms.huggingface import HuggingFaceLLM

llm = HuggingFaceLLM(
    model_name="meta-llama/Meta-Llama-3-8B-Instruct",
    model_kwargs={
        "token": hf_token,
        "torch_dtype": torch.bfloat16,
    },
    generate_kwargs={
        "do_sample": True,
        "temperature": 0.6,
        "top_p": 0.9,
    },
    tokenizer_name="meta-llama/Meta-Llama-3-8B-Instruct",
    tokenizer_kwargs={"token": hf_token},
    stopping_ids=stopping_ids,
)
In this code snippet, we create an instance of HuggingFaceLLM with the appropriate model name, model parameters, generation parameters, tokenizer name, and stopping IDs. Feel free to adjust the generation parameters according to your preferences.
Step 4: Load and Preprocess Data
Before we can create an index, we need to load and preprocess the data that we want to use for our RAG system. LlamaIndex provides a convenient SimpleDirectoryReader class for this purpose.
from llama_index.core import SimpleDirectoryReader

documents = SimpleDirectoryReader(
    input_files=["path/to/your/data/files"]
).load_data()
Replace "path/to/your/data/files" with the actual path to your data files. The load_data() method will read the files and return a list of documents.
Step 5: Set Up Embedding Model
To create an index, we need to set up an embedding model that will be used to generate vector representations of the documents. LlamaIndex supports various embedding models, including those from Hugging Face.
from llama_index.embeddings.huggingface import HuggingFaceEmbedding

embed_model = HuggingFaceEmbedding(model_name="BAAI/bge-small-en-v1.5")
In this example, we use the BAAI/bge-small-en-v1.5 model from Hugging Face. You can choose a different model based on your requirements and computational resources.
Step 6: Set Default LLM and Embedding Model
Next, we need to set the default LLM and embedding model for LlamaIndex using the Settings class.
from llama_index.core import Settings

Settings.embed_model = embed_model
Settings.llm = llm
This step ensures that LlamaIndex uses the Llama 3 language model and the specified embedding model by default.
Step 7: Create Index
With the data and models set up, we can now create an index using the VectorStoreIndex class from LlamaIndex.
from llama_index.core import VectorStoreIndex

index = VectorStoreIndex.from_documents(documents)
The from_documents() method creates an index from the list of documents we loaded earlier.
Step 8: Create QueryEngine
To query the index and retrieve relevant information, we need to create a QueryEngine instance.
query_engine = index.as_query_engine(similarity_top_k=3)
The as_query_engine() method creates a QueryEngine instance from the index. The similarity_top_k parameter specifies the number of top-ranked documents to retrieve based on similarity scores.
Step 9: Query the Index
With the QueryEngine set up, we can now query the index and retrieve relevant information.
response = query_engine.query("What did Paul Graham do growing up?")
print(response)
Replace the query string with your own question or prompt. The query() method will retrieve the relevant documents and generate a response using the Llama 3 language model.
Step 10: Build Agents and Tools (Optional)
LlamaIndex provides a powerful agent-based interface that allows you to define custom tools and agents for more advanced use cases. This step is optional but can be useful if you want to extend the functionality of your RAG system.
from llama_index.core.llms import ChatMessage
from llama_index.core.tools import BaseTool, FunctionTool
from llama_index.core.agent import ReActAgent

# Define custom tools or use QueryEngineTool with the created QueryEngine
query_engine_tool = QueryEngineTool(
    query_engine=query_engine,
    metadata=ToolMetadata(
        name="my_query_engine",
        description="Provides information from the indexed documents.",
    ),
)

# Create a ReActAgent instance with the tools and LLM
agent = ReActAgent.from_tools([query_engine_tool], llm=llm, verbose=True)

# Query the agent
response = agent.chat("What did Paul Graham do growing up?")
print(str(response))
In this example, we define a QueryEngineTool using the QueryEngine instance we created earlier. We then create a ReActAgent instance with the tool and the Llama 3 language model. Finally, we query the agent using the chat() method.
Conclusion
Congratulations! You have successfully built a local LLM RAG system using Llama 3 and LlamaIndex. This tutorial covered the essential steps, from setting up the environment and preprocessing the data to creating an index, building a query engine, and querying the system.
RAG systems are powerful tools that combine the strengths of large language models with information retrieval capabilities, enabling more accurate and contextually relevant responses. By leveraging the state-of-the-art Llama 3 language model and the user-friendly LlamaIndex library, you can create efficient and effective RAG systems for a wide range of applications.
Feel free to explore and experiment with different datasets, embedding models, and configurations to suit your specific needs. Additionally, consider integrating your RAG system with other components, such as user interfaces or APIs, to create more comprehensive and user-friendly applications.
Happy coding and exploring the exciting world of Retrieval Augmented Generation!
Here is a section about using Anakin AI as a no-code AI app builder as an alternative RAG solution:


